With the automation steps, you can now log in to a website and take multiple screenshots of different pages. The automation steps can handle complex login over numerous pages.
In this post, we’ll show you how to log in to a website, Browshot, and take a screenshot after authentication.
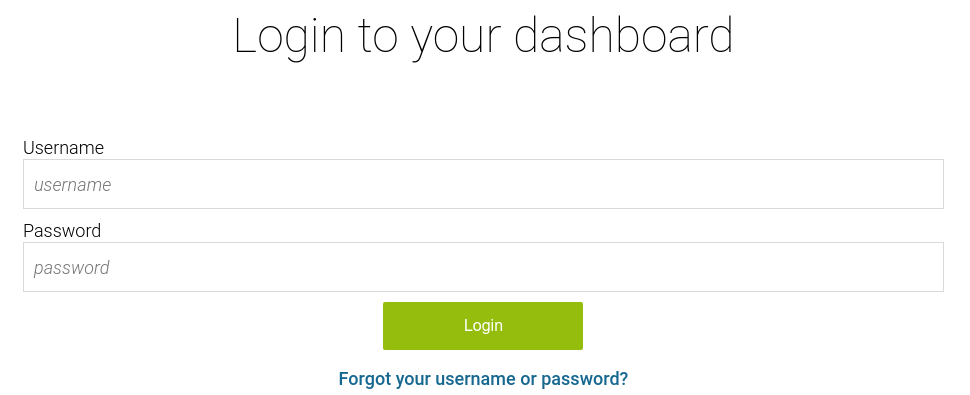
To log in from the home page of https://browshot.com/, a user must click on Login. This displays a login form where the user has to enter his username and password. Then the user clicks on “Login” to access his dashboard.

Find the element to interact with
We'll build the different steps to log in; then, we'll navigate to a separate page in the dashboard and take screenshots. The hardest part of the process is to get the identifier (called CSS selector) for each element we want to interact with: the button to click on, the input box in which to enter our username, etc. We need to use the Developer Tools from your web browser to find this identifier. Press F12 to open the Developer Tools. Navigate to https://browshot.com/. In the Developer Tools, click on the mouse cursor in the top left corner (highlighted in red below). more...
With Blitapp, you can inject JavaScript into any page to log in, click on elements, etc. To expand the range of possible interactions and simplify them, we have added automation steps.
On this blog, we will post several examples using automation steps, including:
- Complex login to a website
- Log in to a site and take screenshots of multiple pages
- Take screenshots of a carousel with all the elements
- Select multiple elements on a page
Automation steps
The automation steps describe the list of commands that the browser must execute. Unlike the injected JavaScript, these steps can be carried out over multiple pages and generate multiple screenshots. Each step contains:
- a command:
- type: type text, like a username or password
- click: click on an element
- javascript: execute and JavaScript
- sleep: wait for a number of seconds
- navigate: navigate to a new URL
- screenshot: take a screenshot of the current screen, page, or specific element
- element (optional): a CSS selector targeted by the command, for example, the input field to type a username, the element to click on, etc.
- value (optional): the number of seconds to sleep, the text to type, the URL to navigate to or the JavaScript code to execute
To remain compliant with our e-mail provider, we must block invalid e-mail addresses, addresses that have bounced, etc. Every day, we get reports about such e-mail addresses and add them to our denylist. These e-mails cannot receive any notification from us, including information about a capture, a password reset, etc.
Now you will see a warning if your account e-mail address has been blocked and if any e-mail recipient of your capture is on our denylist. You can open a support ticket to solve the issue and get the e-mail allowed again.
If your account e-mail address is blocked, you will find this warning at the top of each page and under Account:

If a capture contains an e-mail address that is blocked, you will see a similar warning at the top and bottom of the capture page:
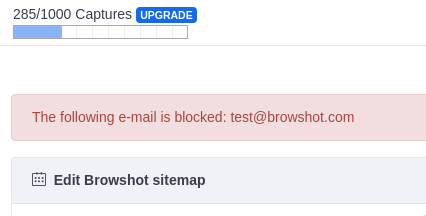
Check that the e-mail address is spelled correctly, and contact the owner to determine whether they recently had an issue (e.g., mailbox full, change of e-mail, etc.) or whether they have blocked messages from blitapp.com.
more...We have made two improvements to Blitapp:
- Test your captures outside of their regular schedule
- Make changes across captures
Test your captures
You can test your captures without waiting for the scheduled time to kick in. In your capture, there is a new button Save & Test. It works for all captures, even paused captures. This saves any change you may have done to your capture and run a test. It will then display the history of the capture. Your test will show as IN PROGRESS. When the capture is done, it will change to SUCCESS or ERROR. If you close the history, you can click on the History link at the bottom of the page to see the history popup again.
more...Update: Use the automation steps to login to a website. It is easier to set up and can handle complex login pages.
With Blit, you can inject JavaScript code into a page to create complex interactions. You can use this functionality to log into a website before you capture a page.
The JavaScript code must replicate the following:
- Enter the username and password.
- Click on the login button.
- Wait for the new page to load.
The first step is to identify the username and password fields. We will use CSS selectors to identify the two fields. You can find additional information about retrieving CSS selectors in this post.
We will use the Browshot login page as an example: https://browshot.com/login. This page has two forms; the first is used for logging into the dashboard.